Baking, and Knights from the future
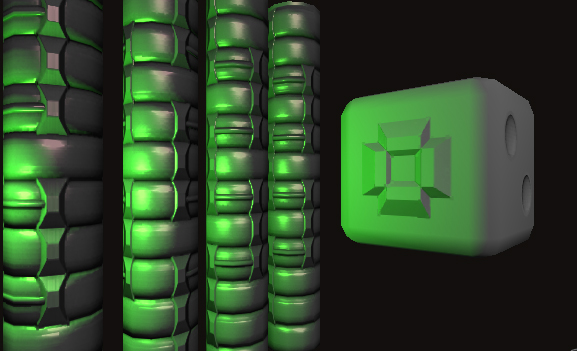
Posted: December 27, 2009 Filed under: 3D, Art | Tags: baking, blender 8 Comments »well I spent this morning learning how to do even cooler baking… baking normals on my meshes of course:
and after learning this cool goodness, I sketched up a character design I could 3D-ify to make use of this magic:
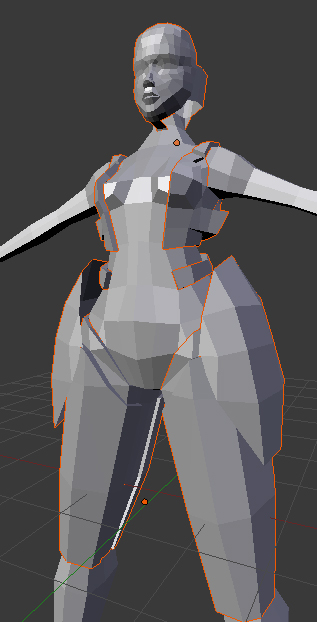
and once sketched, I began to 3D:
well its not finished yet of course, but I’m allowed to put that here, this is my crappy blog after all 🙂


Oooh, it’s so green.
Wait… That’s a cube!
There will be greenness in the next game!
Did you do this with normal mapping? if so, how did you make the map?
@E.L: I should point out I’m not working on any games right now with greenness like this ;p
@Willem: I bake the normals from other geometry, in short (assuming you are using blender):
1) unwrap your model, and build all the detail you want in other meshes
2) select all the meshes you want and select your main one last
3) under the render buttons menu there is a ‘bake’ tab
4) you want to render normals, ‘selected to active’ in ‘tangent’ space.
also make sure when unwrap your mesh you make a new texture for it, also set it to smooth geometry. oh, and make sure you set the distance to something other than 0, you can get some crazy stuff sometimes otherwise where it projects inside out on some places.
So do i get this right if i say that you create the geometry from your UV map and the drawing you make to it?
no, you create your geometry like any other 3D model, and the uv map is just so the program knows where to bake to. looking around I think this tutorial looks about right: http://vi-wer.de.tl/Normalmap-Tutorial.htm?PHPSESSID=26456cb8a29975b2a4b4091db9381b85
Thanks for the link.
I also found this one for Blender normal maps and Unity : http://www.blendercookie.com/2009/11/21/exporting-a-lowpoly-model-to-unity-3d/
that’s actually a pretty damn good tutorial, just some things to keep in mind not mentioned in it:
1) normal maps will need to have their red and green (x and y) channels inverted in something like photoshop or the normals will be inside out.
2) pay extra attention to your models import settings for ‘scale’, blender units are the same as unity units so a scale of 1 should be the perfect import size if your models are built using a realworld scale
also it’s not a biggy, but if you are unwrapping cubes, 2×3 rows of squares are a better use of UV space than a cross shape, UV space is too precious to waste! 😀
also if you are being really damn fancy and you know how to set up shaders you can have models that have multiple UV sets for different maps, for example if only one part of your model has any specularity, a spec map with only detail in a corner is a waste, make a full map for the speccy region… but like I say, its more work on the unity end to get it to work ^_^
Thanks Sophie. I’ll think of that. I’m only at the stage of baking my maps in Blender (looking very nifty with VRay!). Haven’t even opened Unity yet 🙁 🙂